No Nonsense, At-Home Photo Tips!

No Nonsense, At-Home Photo Tips!
We’re getting on each other’s nerves. We’re on edge, FRAZZLED even. And it’s just three of us! But food and photography are getting us through.
My wife and daughter were making ramen from scratch the other day (cooking more than ever, like everyone else is), and I got behind my camera inspired to capture them and to write down a few tips for you guys.
I shot everything you see here with a Canon Rebel t5, my very first camera (it goes for under $300 today), and its stock lens, a 18-55mm zoom lens. I only used available lighting, too, so no excuses!
I split the tips into two sections: the first for setting up your camera and location and the second for actual shooting tips. I tried my best not to be too technical, but you can always ask questions!


SETUP TIPS
HAVE YOUR SUBJECT FACE THE WINDOW
Pull up the shades and have your subject as close to the window as possible. You’ll need as much light as you can get, especially with stock camera lenses. The cameras now usually have more than enough picture quality but the lenses they come with don’t take in a lot of light, making it difficult to shoot indoors sometimes.
IF POSSIBLE, TURN OFF ANY OVERHEAD LIGHT
The light from outside has a different color temperature than most indoor light bulbs so you might get weird skin tones in your photos (bluish from outside and yellowish from inside, for example), but, also, light from right overhead can be unflattering depending on where your subject stands. This was actually one of those things that went wrong on my shoot: I had to turn on the overhead light just because it was so overcast outside. Fortunately, it was just strip lighting over the kitchen sink, so it was close to the window and resembled one main light.

SHOOT AT THE WIDEST APERTURE YOUR LENS ALLOWS
This is the F-stop number: the lower the number--, for example, f/2.0--, the more light that the lens takes in and the softer the background looks. This is key for indoors because there’s often low light, so the wider aperture lets more light in. On the stock zoom lenses, you’ll usually have to zoom all the way out to get the most light into your camera. On the lens I used, I shot everything at 18mm which made my widest aperture f/3.5, which isn’t great, but better than the alternative. With most zoom lenses, zooming in means that the F-stop number goes up, which means less light comes in, so shooting all the way zoomed out is your best option for indoors.
USE YOUR ISO
ISO is usually the biggest fear of new photographers because you don’t want grainy photos or photos to look less sharp. But a grainy photo is better than a blurry one. You never want to go slower than 1/60 shutter speed (the lower you go, the more light comes in, but the chance of blurry shots are higher), and if your lens doesn’t have a super wide aperture to take in more light, ISO is your only hope to get a properly exposed shot. With this old camera you can push the ISO to 3200 to help with low light situations. That’s what I had it set to in all of these shots. Yes, there’s some grain, but it doesn’t ruin anything. I’ve actually been digitally adding grain to some of my photos recently, so there’s that, too. You’re a hipster now. Embrace it.
SHOOTING TIPS
MOVE YOUR FEET
Since you’ll be zoomed out, move your feet to get the shots you want. I use prime lenses exclusively (lenses that don’t zoom at all), and it’s the best. You always know your crop and get to know exactly where to move to get the shots you want in an instant without having to make other adjustments. Just be careful not to get too close. I shot all of these at 18mm which is pretty wide, and if you move in close for some shots, there’s a point where the lenses, like your eyes, can’t focus. So if you realize your autofocus isn’t working, you’re probably too close. Back it up, buddy.
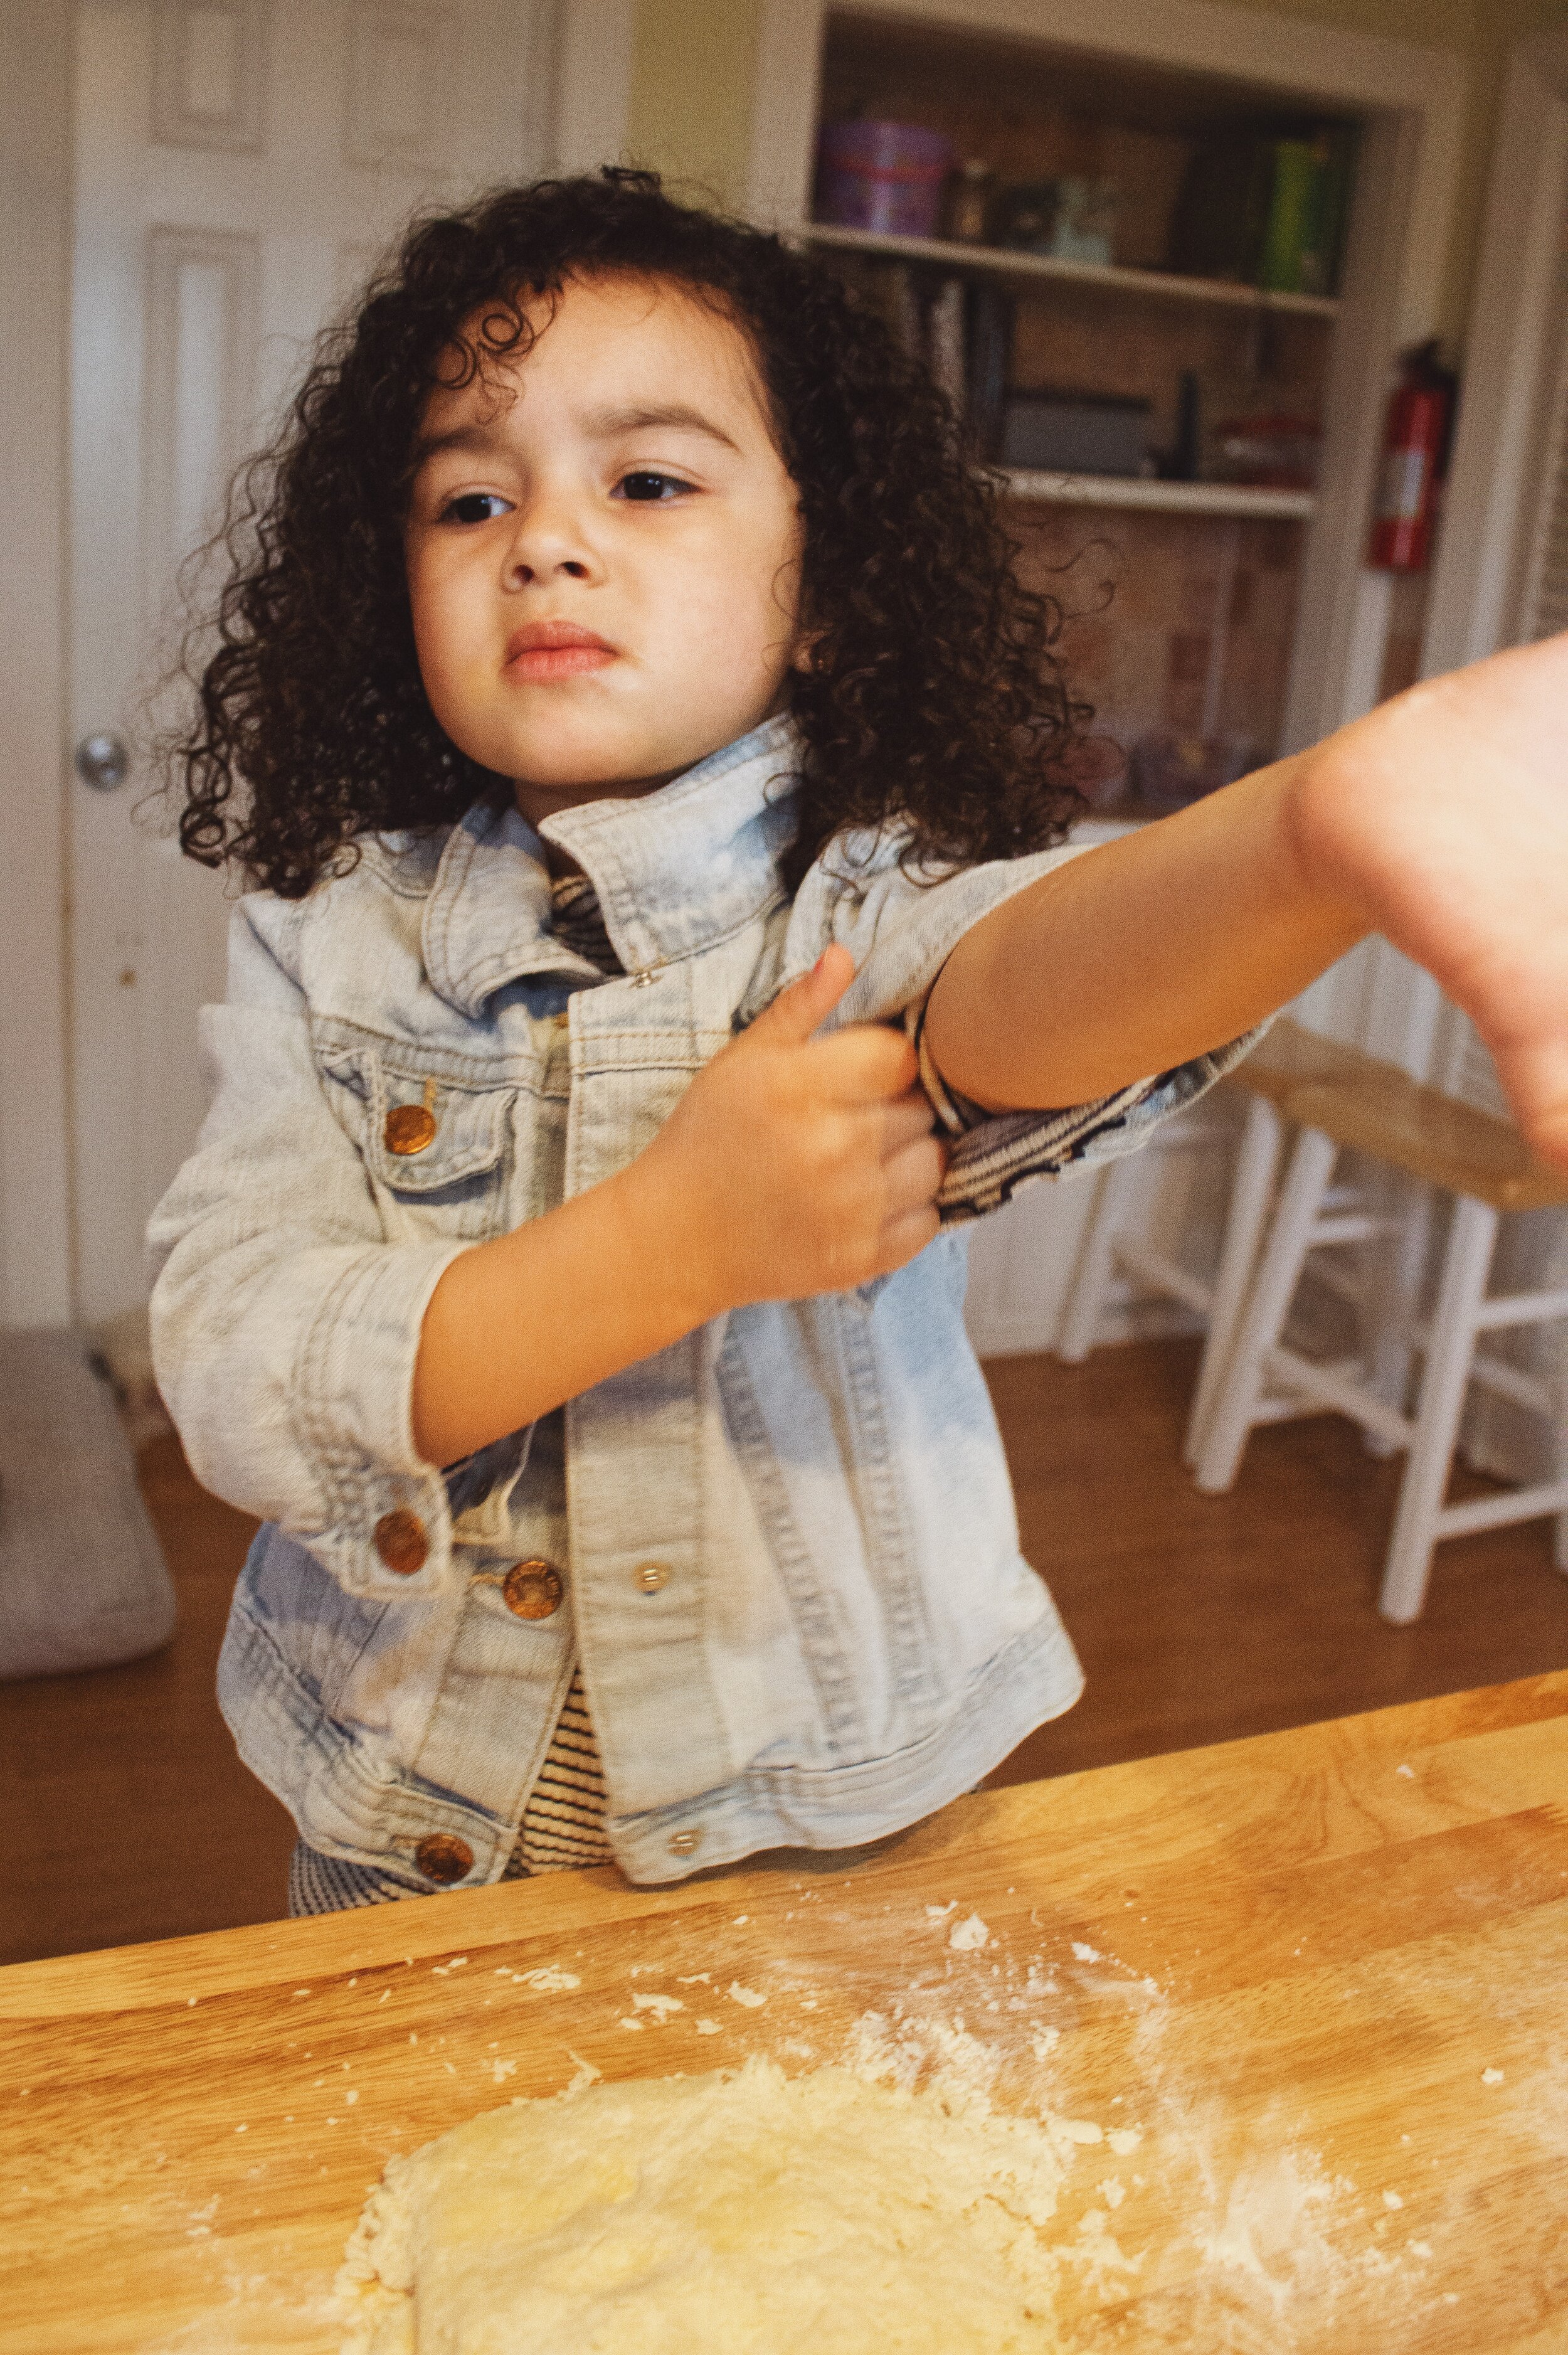
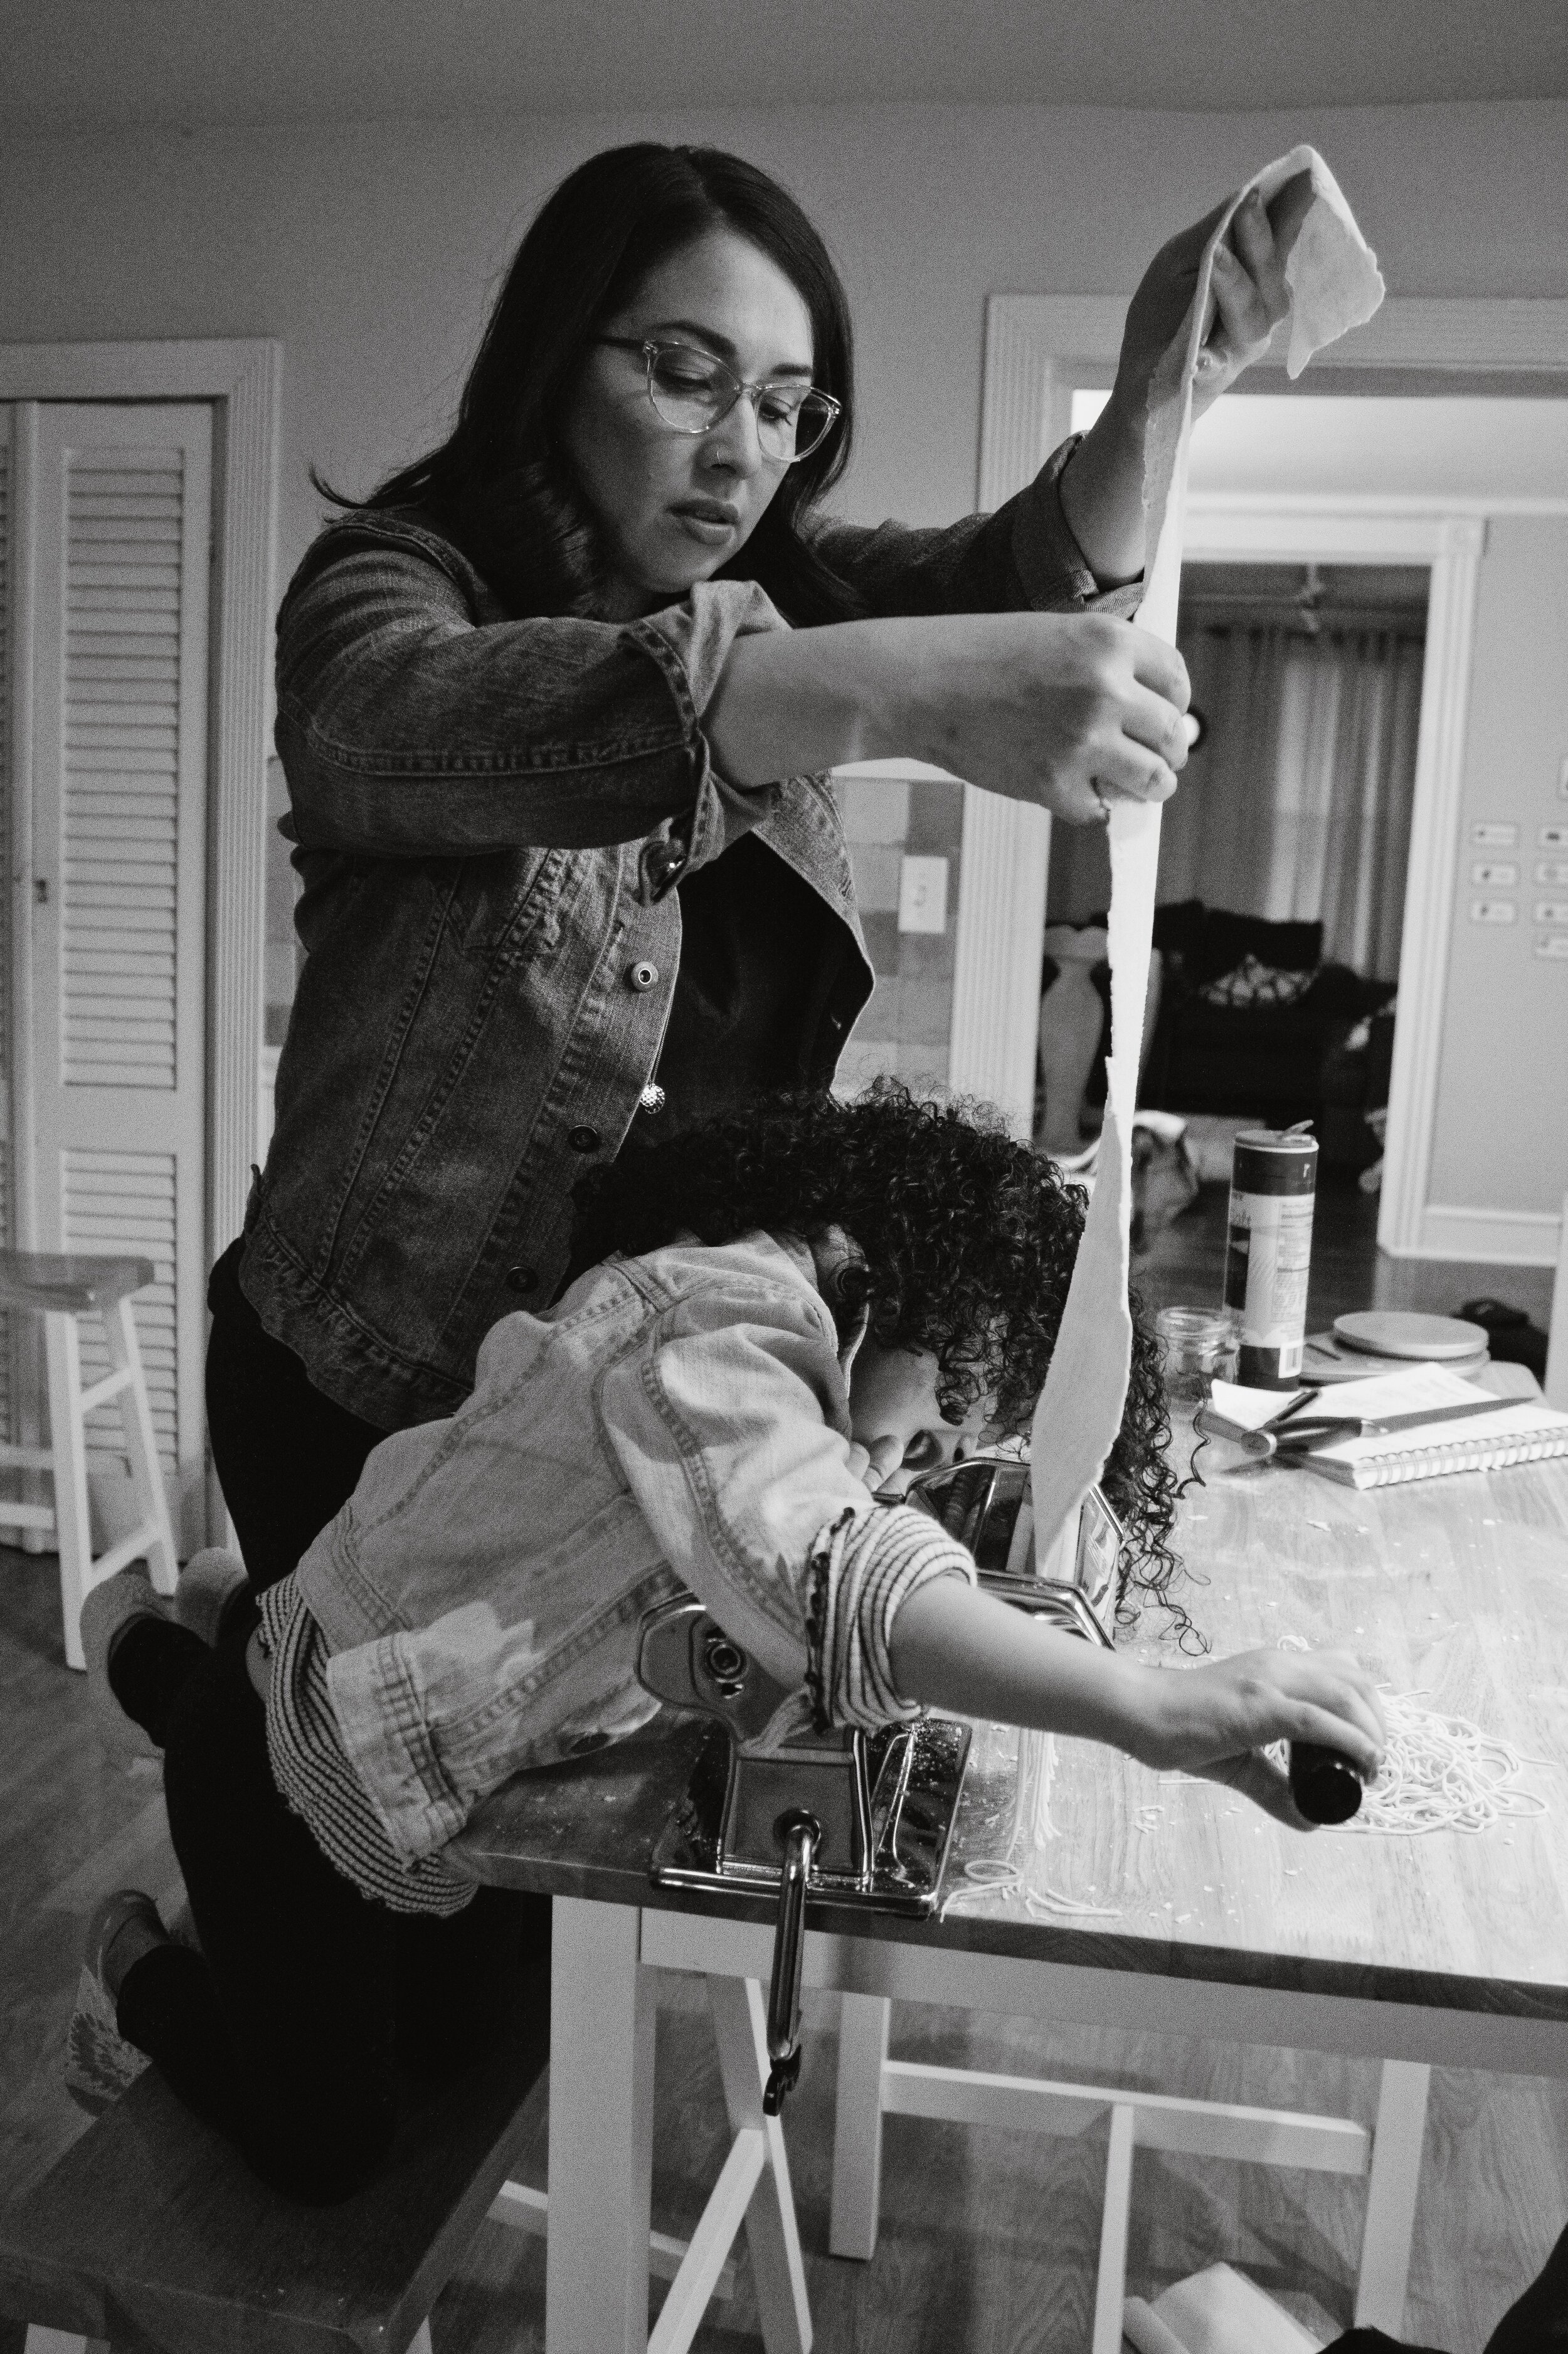
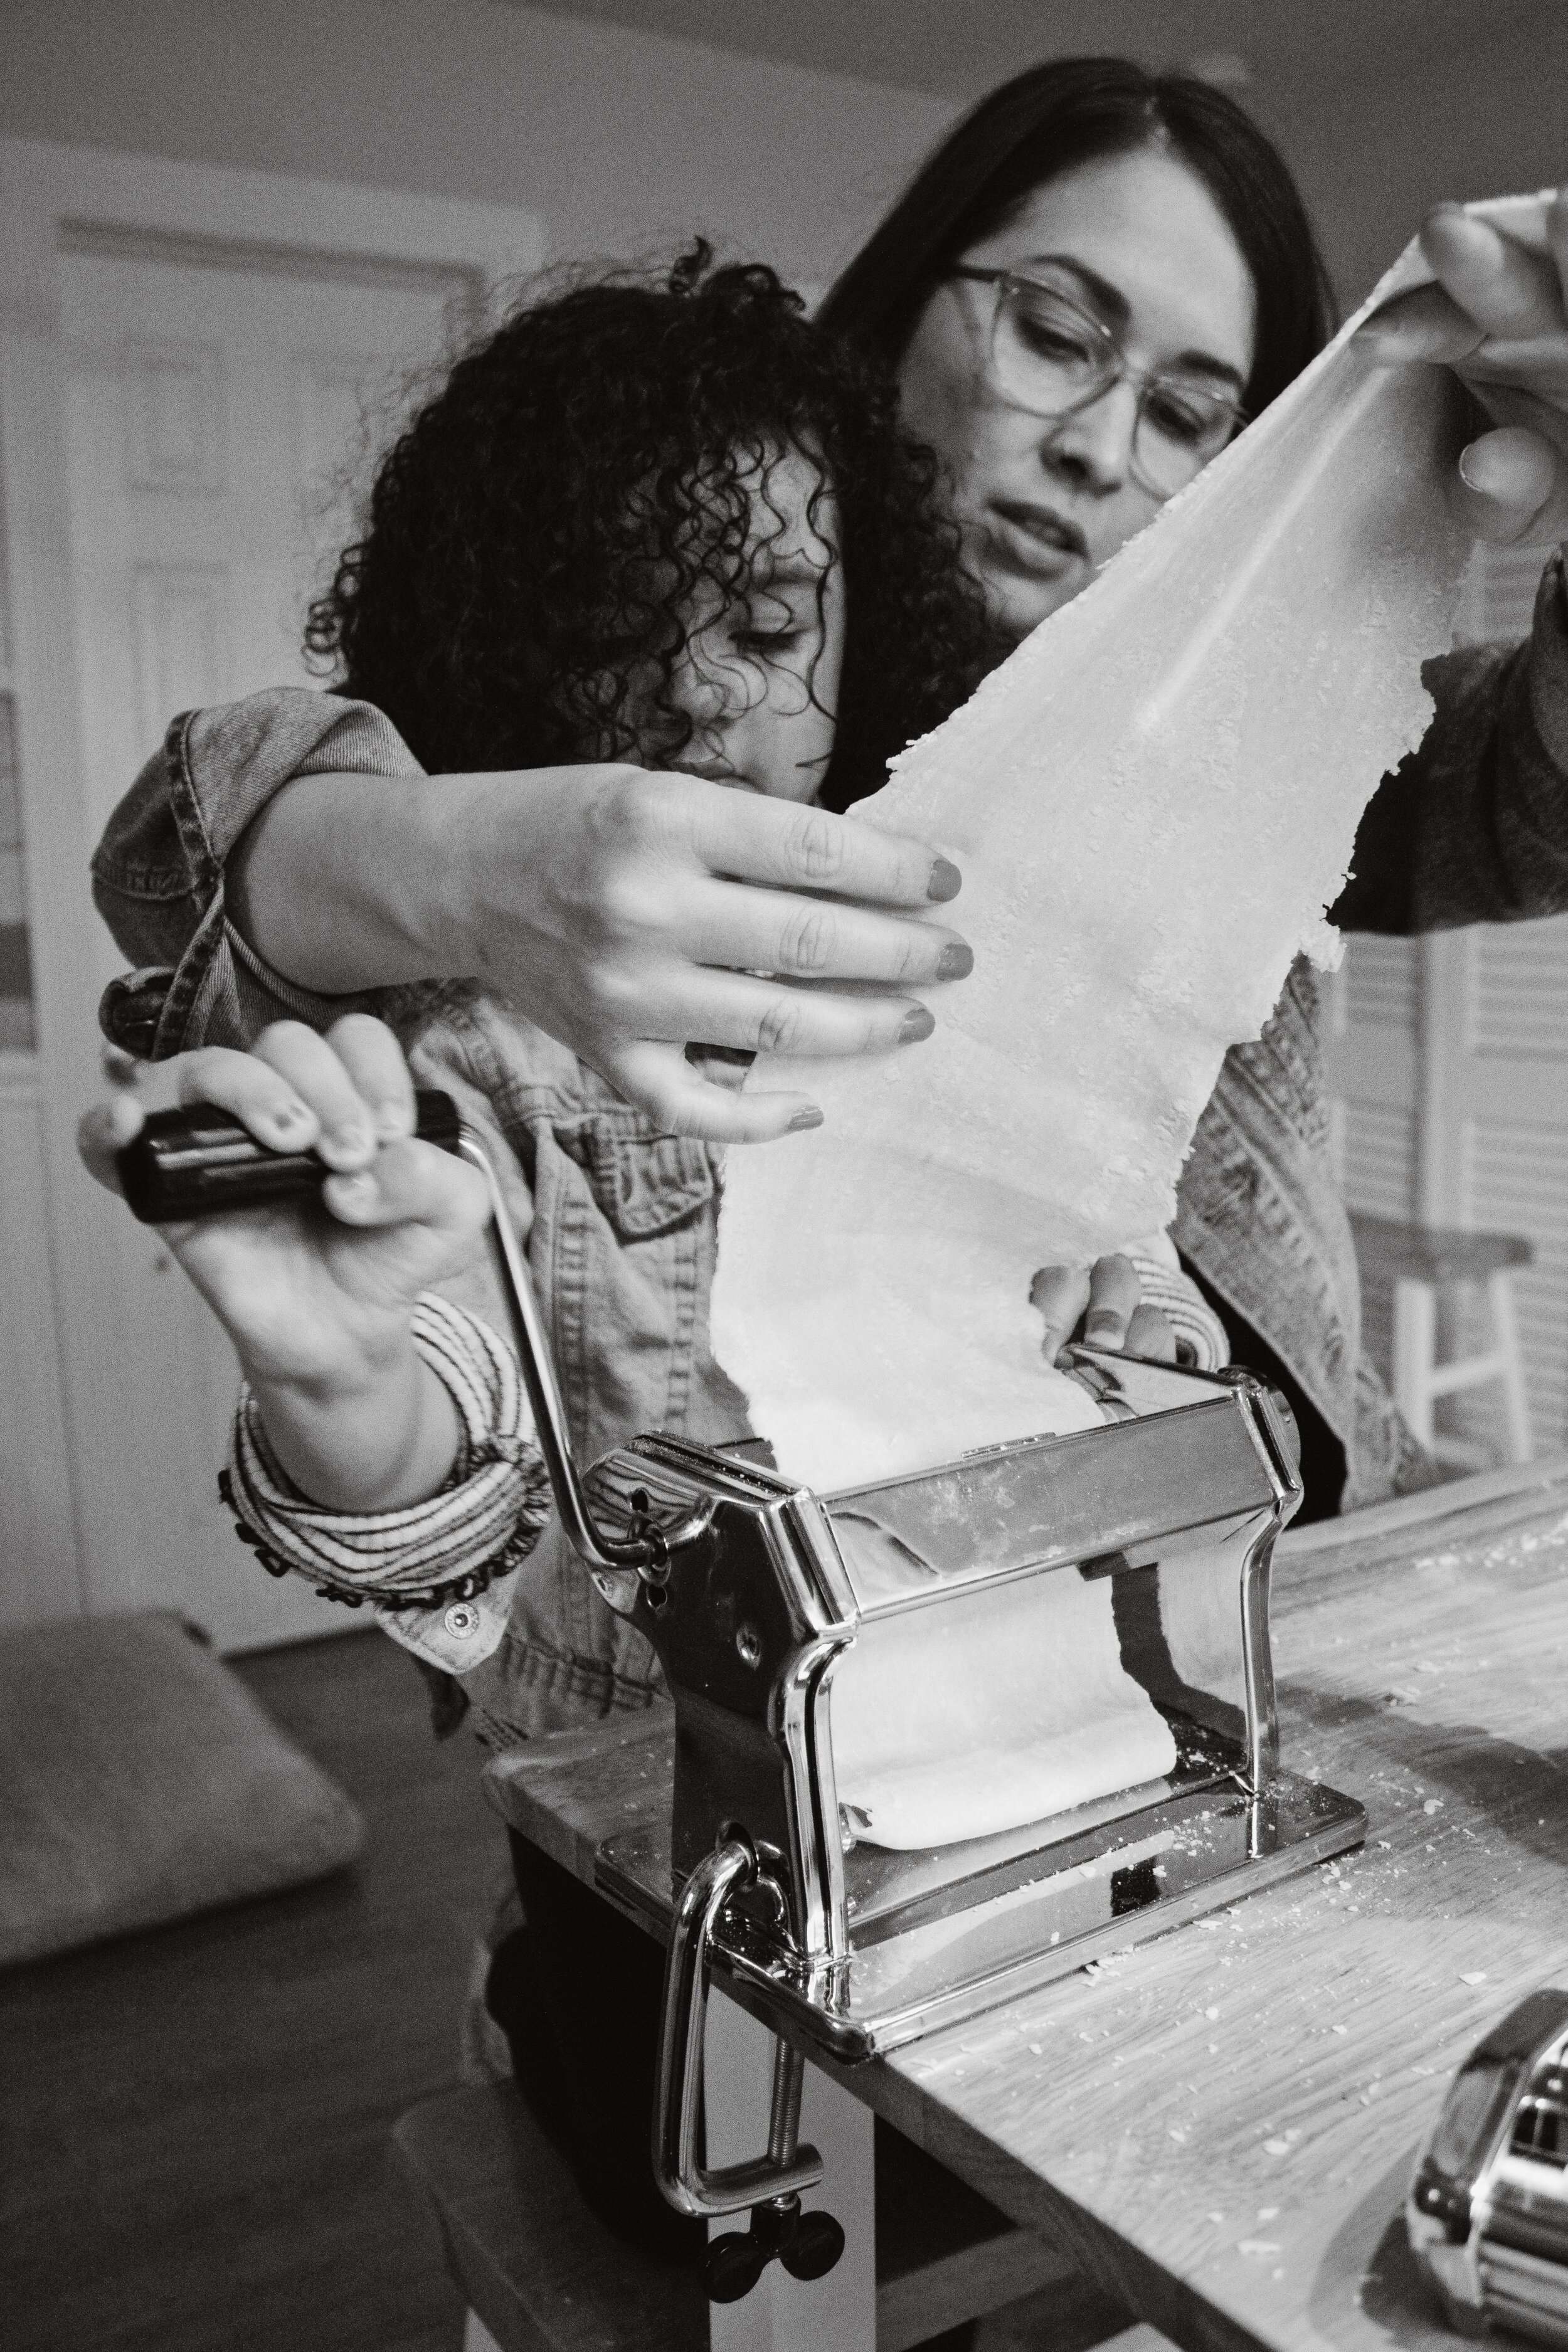
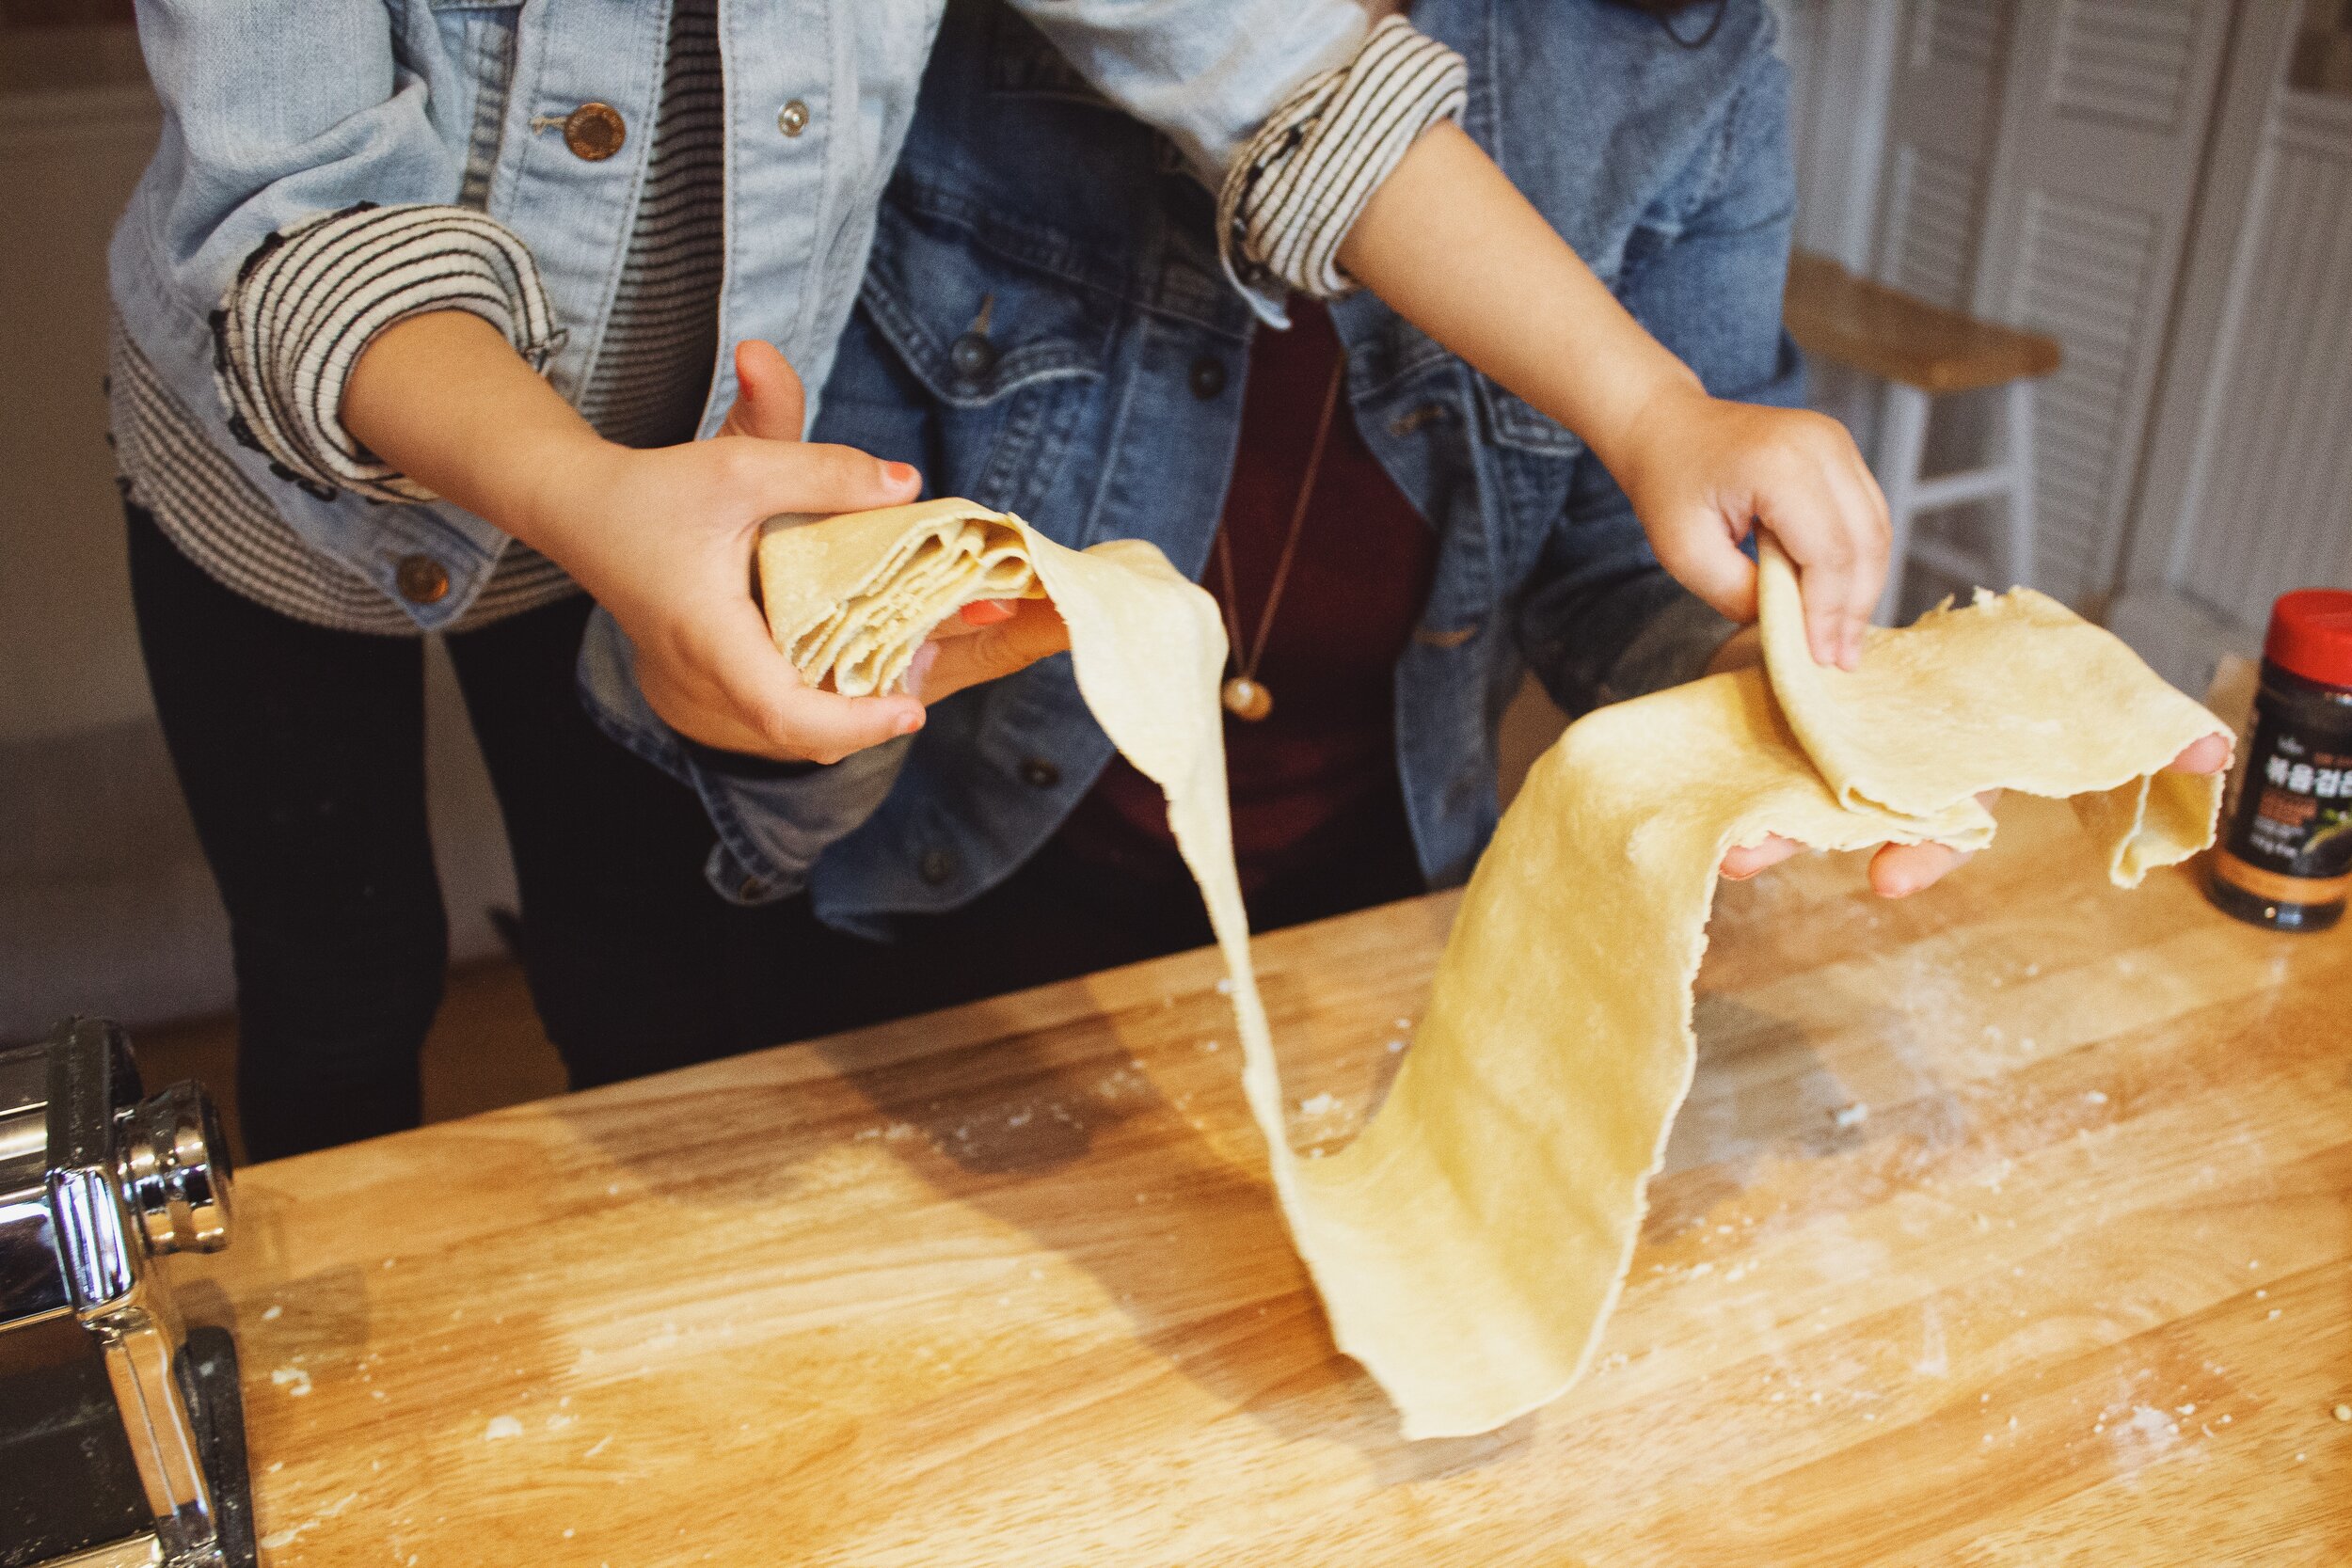
USE A VARIETY OF SHOTS TO TELL A STORY
You can spice up a photo session by adding varied compositions. Take portraits, get close-up shots of their hands and things they’re doing, get a wide shot of the whole room. This is how you go from a collection of photos (beautiful ones, of course!) to a story of a delightful afternoon together with only minor arguing and thank God photos don’t capture sound(!).

Detail shots of what’s happening help to tell a story
FILL YOUR FRAME
Unless you’re going for a wide shot, fill the frame with your subject. A common mistake people make is to have their subject’s head in the very center of the frame and then there’s unnecessary room overhead.
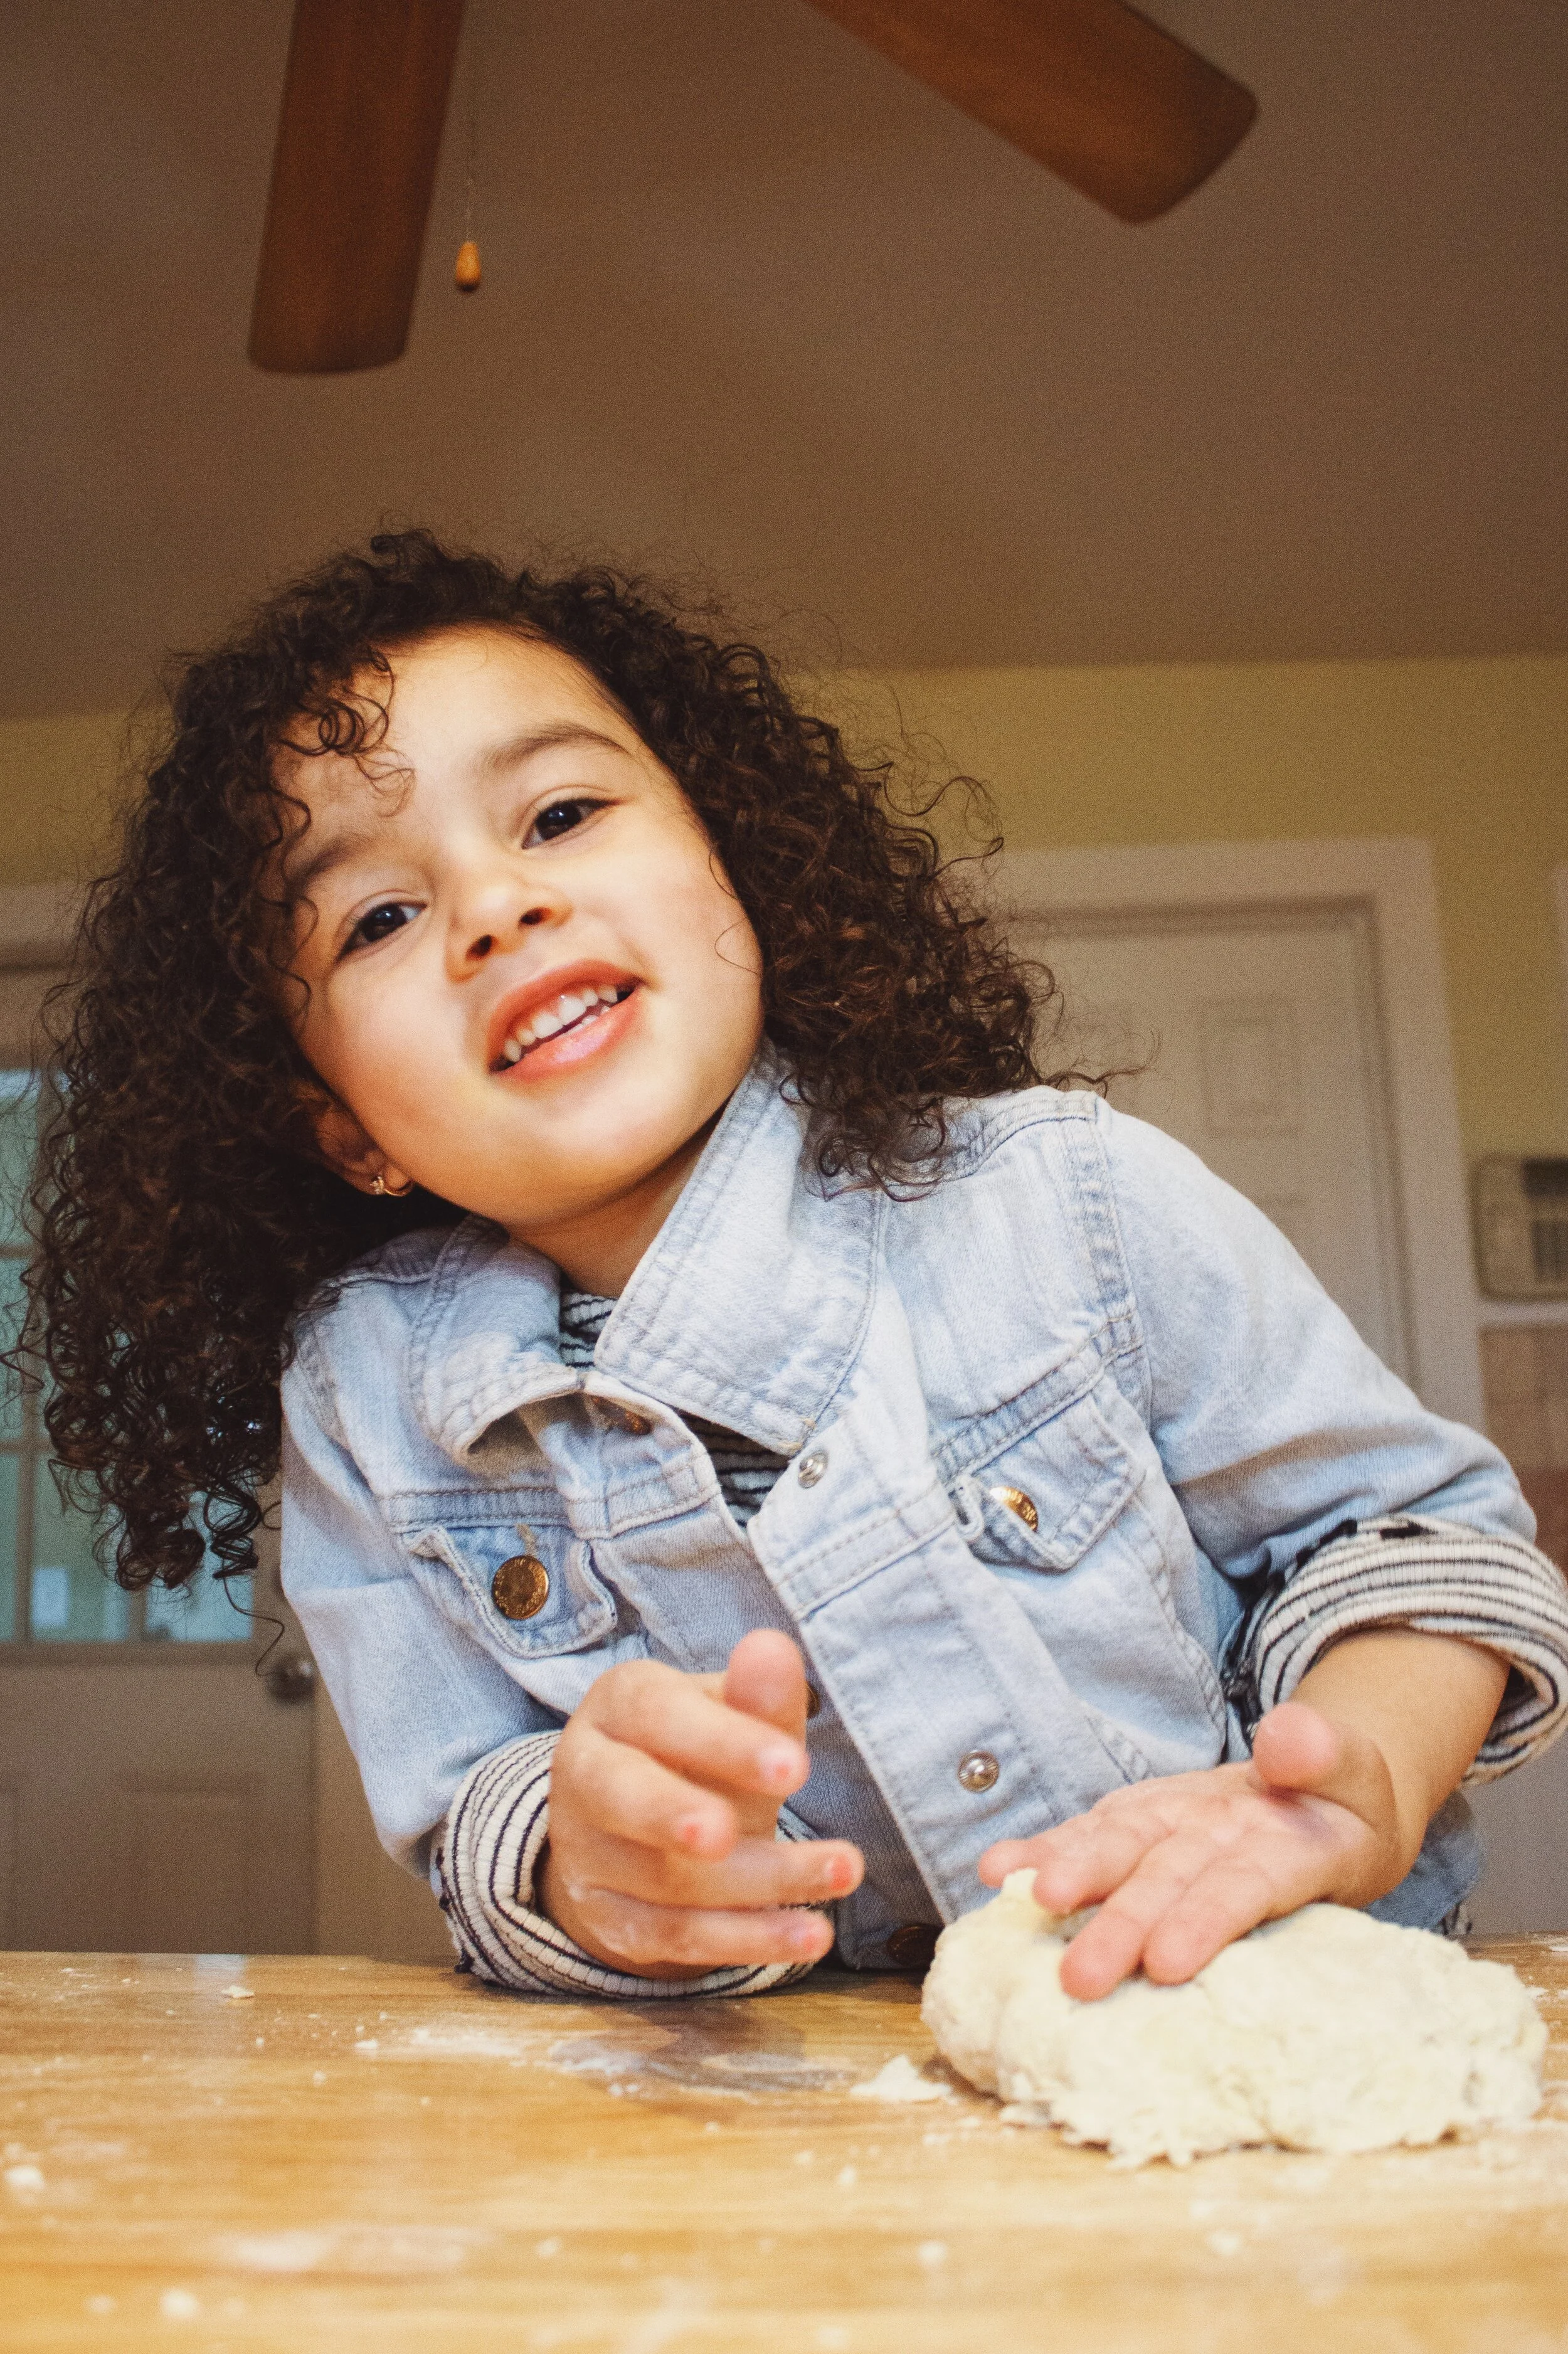
TRY FUN ANGLES!
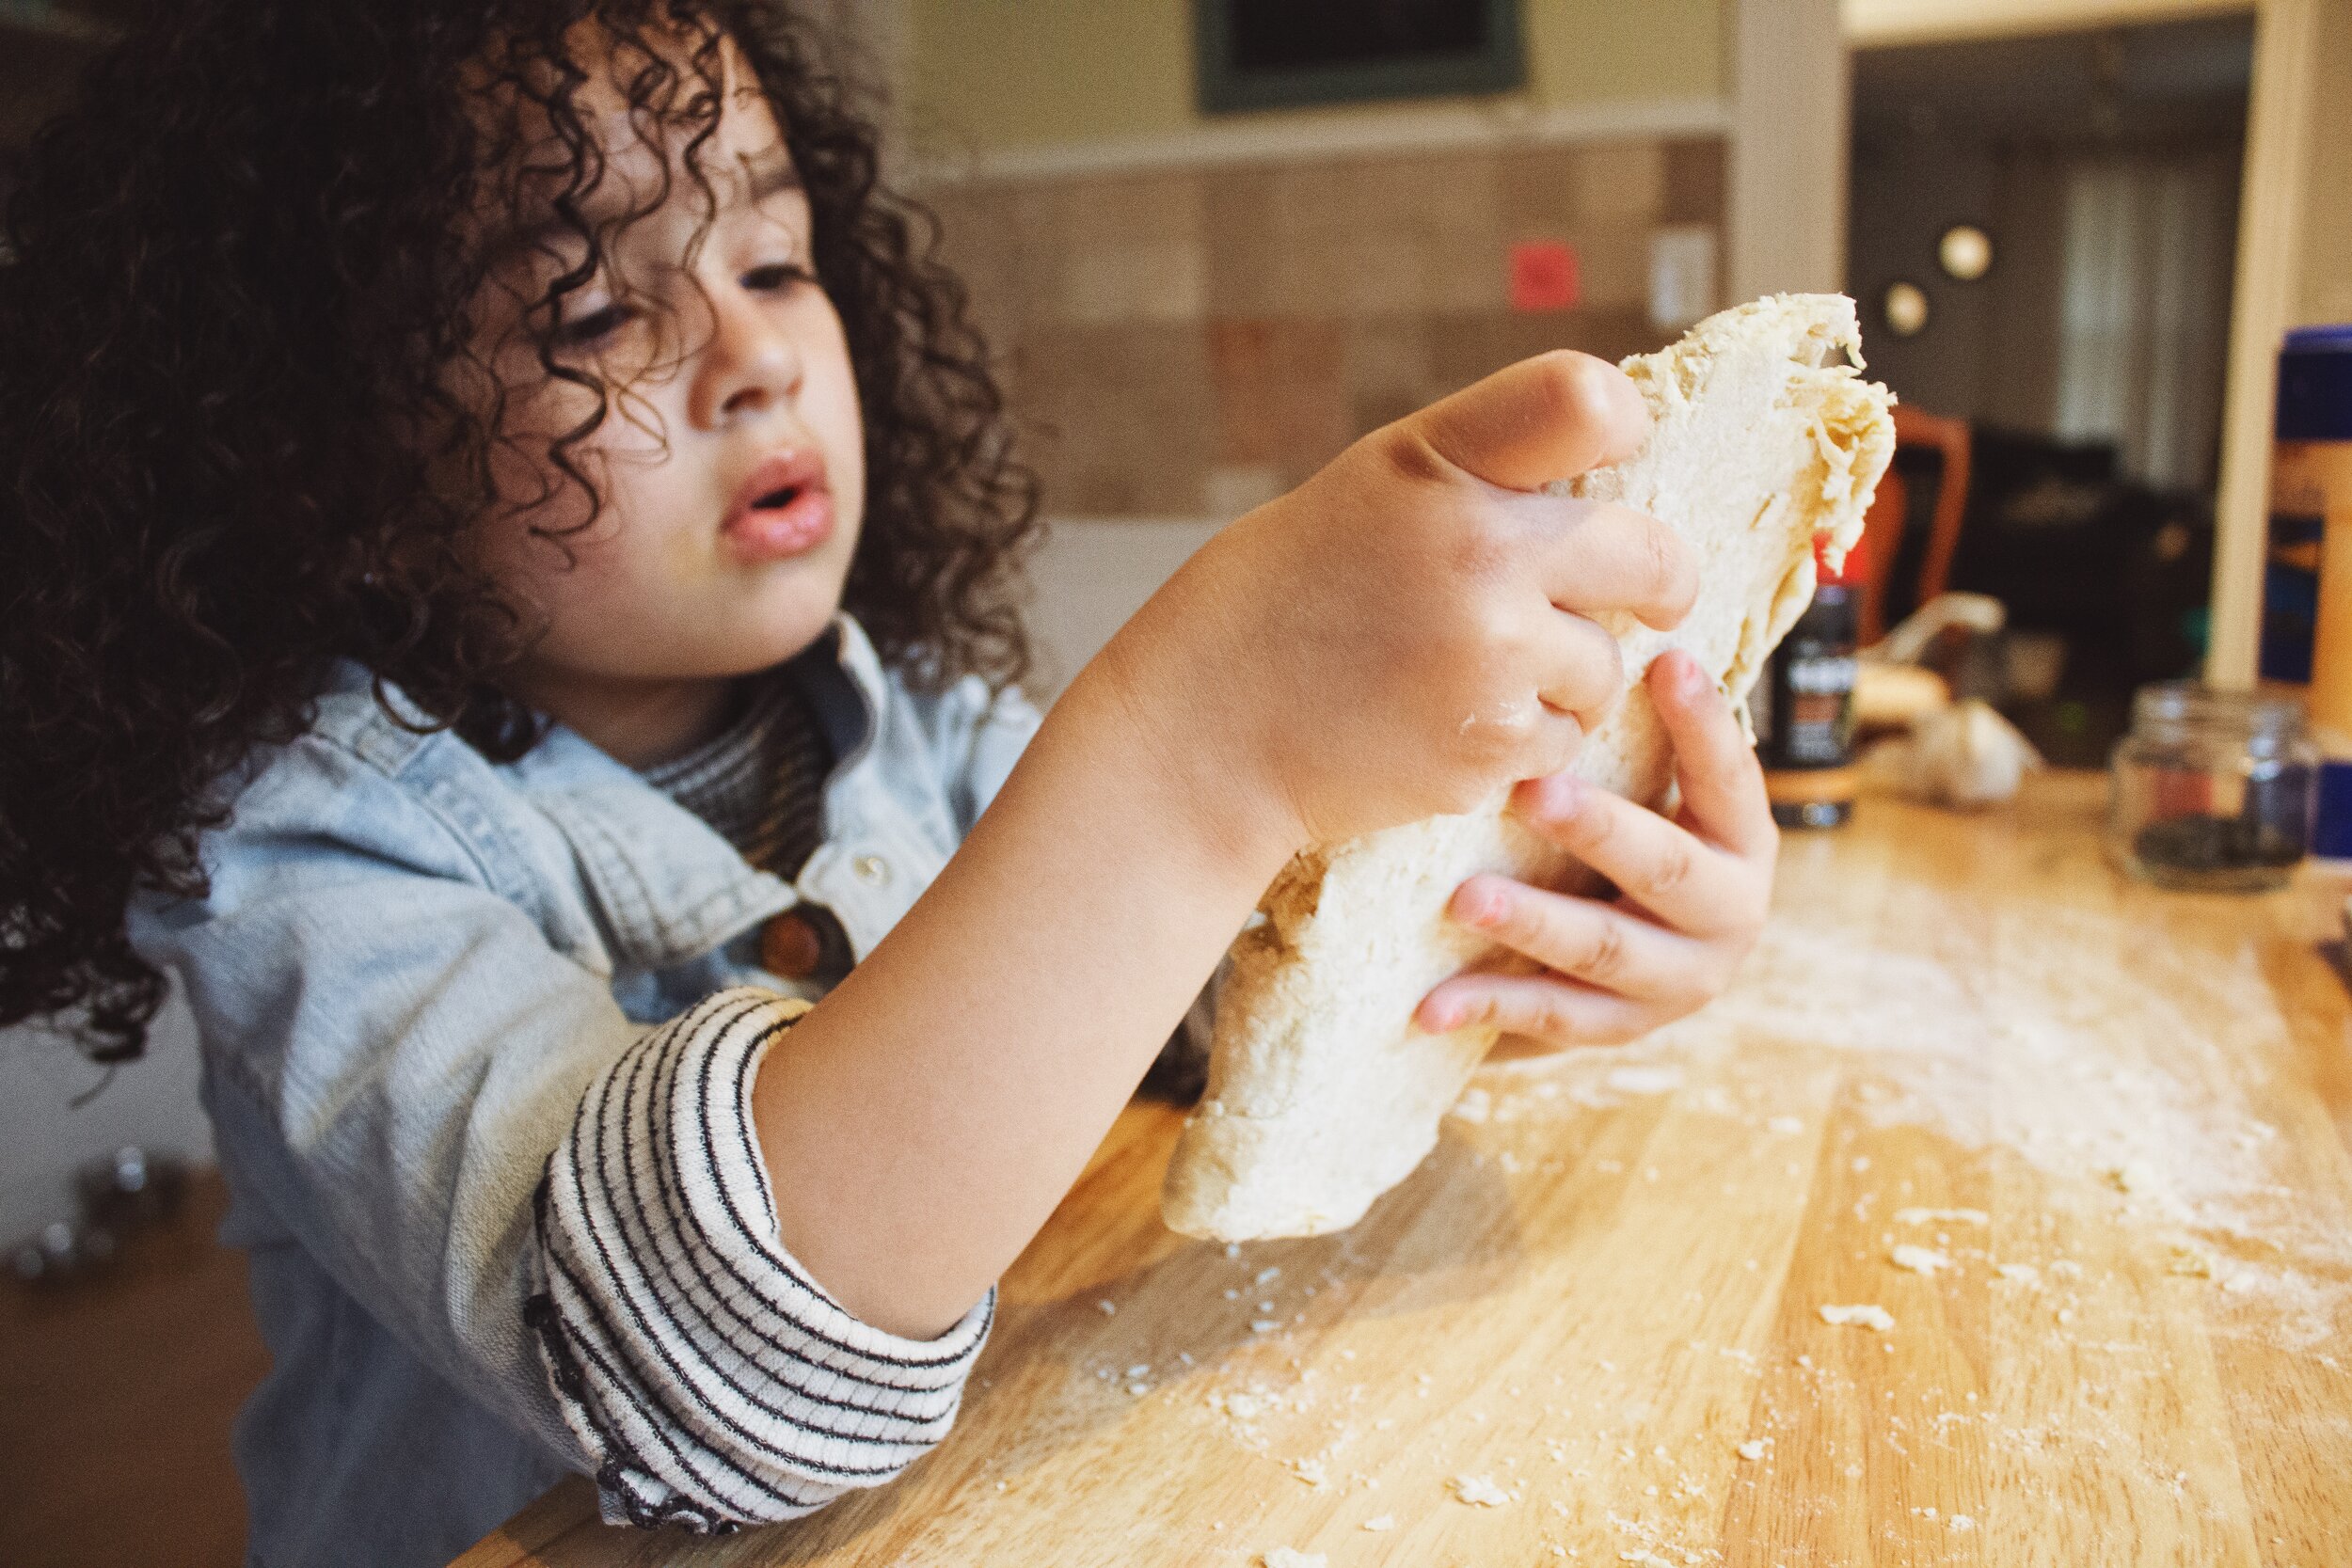
While aiming slightly down at your subject usually leads to the most flattering photos (I’m often tip-toeing or standing on something at the studio!), crouch, come in close, stand on something. Anything so that your shots are not simply you pointing directly at your subject from the same angle over and over.

I crouched down to the level of the table and aimed up for this action shot of Sofia pressing the dough. It’s a fun angle, too, because the slight distortion of the wide 18mm lens.
DON’T OVER-DIRECT
You’re at home, your family-members/roommates are comfortable and lounging, probably not even “camera-ready” if you didn’t plan to dress up and shoot, so give them space. Capture what’s happening and don’t pose them too much and get everyone mad that you’re out with your camera! People feel most comfortable when they’re not expected to look a certain way for photos.

THAT’S IT!
This is a lot to take in, so focus on the first part to make sure your camera is ready for the best images, but the second part is what takes practice to integrate. Read over the tips and try your best, and come back to them and see how you did with each category.
Let me know how you did! If you post on social media, please use the hashtag below so I can see how you guys did with applying these. Have fun!